Install KVM (Kernel-based Virtual Machine) on Linux Systems

In this article we will discuss the installation of KVM (Kernel-based Virtual Machine) on Linux systems (RPM Family “Redhat 7/CentOS 7/Scientific Linux 7”).
KVM (Kernel-based Virtual Machine) is a full virtualization solution built into the standard RedHat Enterprise Linux kernel . It can run multiple, unmodified Windows and Linux guest operating systems.
KVM can be used to create and manage virtual systems built on the
physical host with the KVM package. This capability is useful for consolidating servers and keeping costs down. There is also a security and ease of management benefit as well.
Requirements:
Before starting to configure a RHEL server as a hypervisor host, verify support hardware.
There really are just two requirements to start KVM hypervisor backend services:
- KVM virtualization can be used only on 64-bit computer architecture.
Almost all of current systems use 64-bit OS, but we need to verify that, so on you terminal run the following command:
# uname -i
The output of the above command is x86_64 . the system is 64-bit.
- CPU must support hardware virtualization.
The KVM hypervisor requires either an Intel processor with the Intel VT-x and Intel 64 extensions for x86-based systems, or an AMD processor with the AMD-V and the AMD 64 extensions. To verify that the host system hardware supports the correct extensions, on you terminal run the following command:
# egrep '( vmx | svm )' /proc/cpuinfo
The output should contain either vmx for Intel processors or svm for AMD processors as shown below:
 Now Our Linux architecture and hardware both support the virualization, let’s go with the installation steps:
Step 1: The Server Installation Process.
As KVM is the default virtualization in Redhat family it already include in the default repositories , No extra repositories set-up needed.
on you terminal run the following command as root user:
# yum install qemu-kvm libvirt
This will install the following packages as shown below: From The Above Image We notice that:
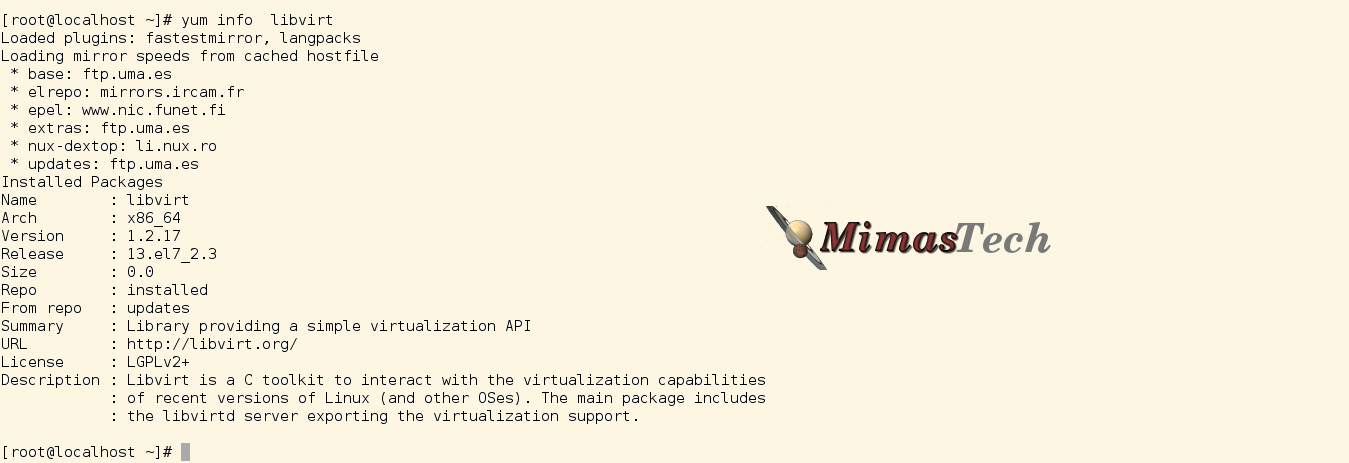
- libvirt will be installed “Which provides the host and server libraries for interacting with hypervisors and host systems”.
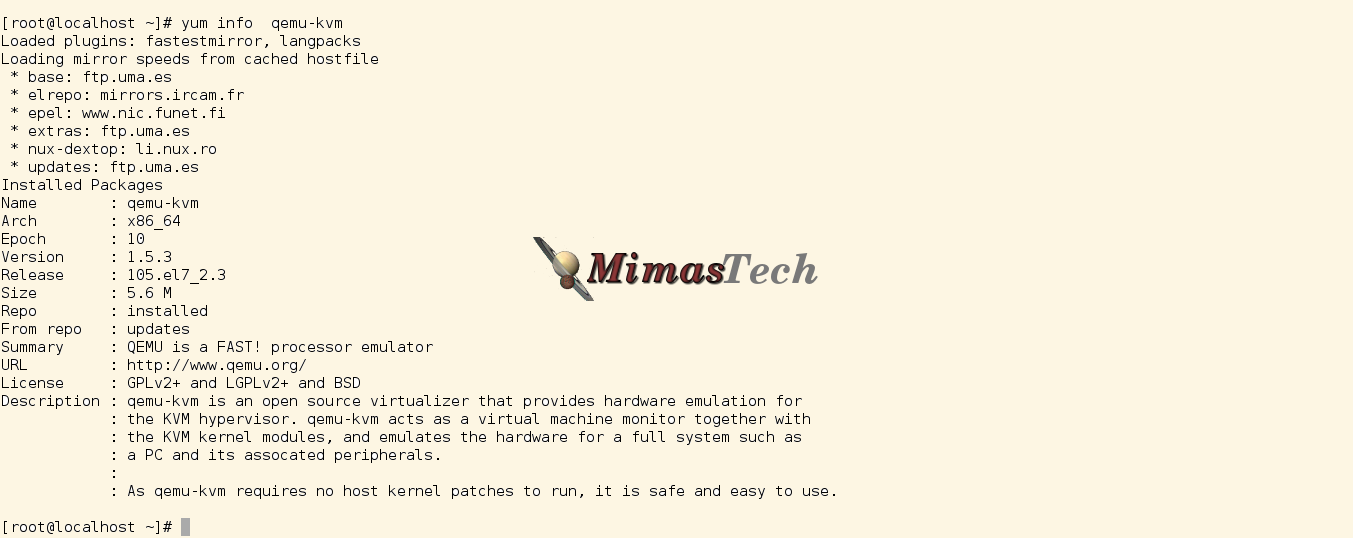
- qemu-kvm will be updated “Which provides hardware emulation for the KVM hypervisor”.
- libvirt-client will be installed “Which provides the client APl sand libraries for accessing libvirt servers, including the virsh command-line tool to manage and control VMs”.
- bridge-utils will be installed “Which provides a default NAT networking for your VMs to be able to connect to the internet”.
Hint:
1. You may see extra packages installed in your system, the total number of packages are different from installation to another" i.e If you are installing KVM on minimal Linux, this will install many extra packages than if you are installing KVM on server with GUI".
2. Here I'm using Centos Server with gnome Desktop.
Here’s a brief description of the qemu-kvm as found on the repository:
Here’s a brief description of the libvirt as found on the repository:
At this point the KVM host server is successfully installed, but we need to do a final check on libvirtd services.
on you terminal run the following command as root user:
# systemctl status libvirtd
The output of this command should be as shown below ” If you are using Server with GUI”:
 The output of this command should be as shown below ” If you are using Minimal install”:
 We notice that the libvirtd is enabled by default after installing the libvirt package, but not running by default” depends on your host installation”.
So, After installing KVM Server on your Linux you MUST RESTART LIBVIRTD
# systemctl restart libvirtd
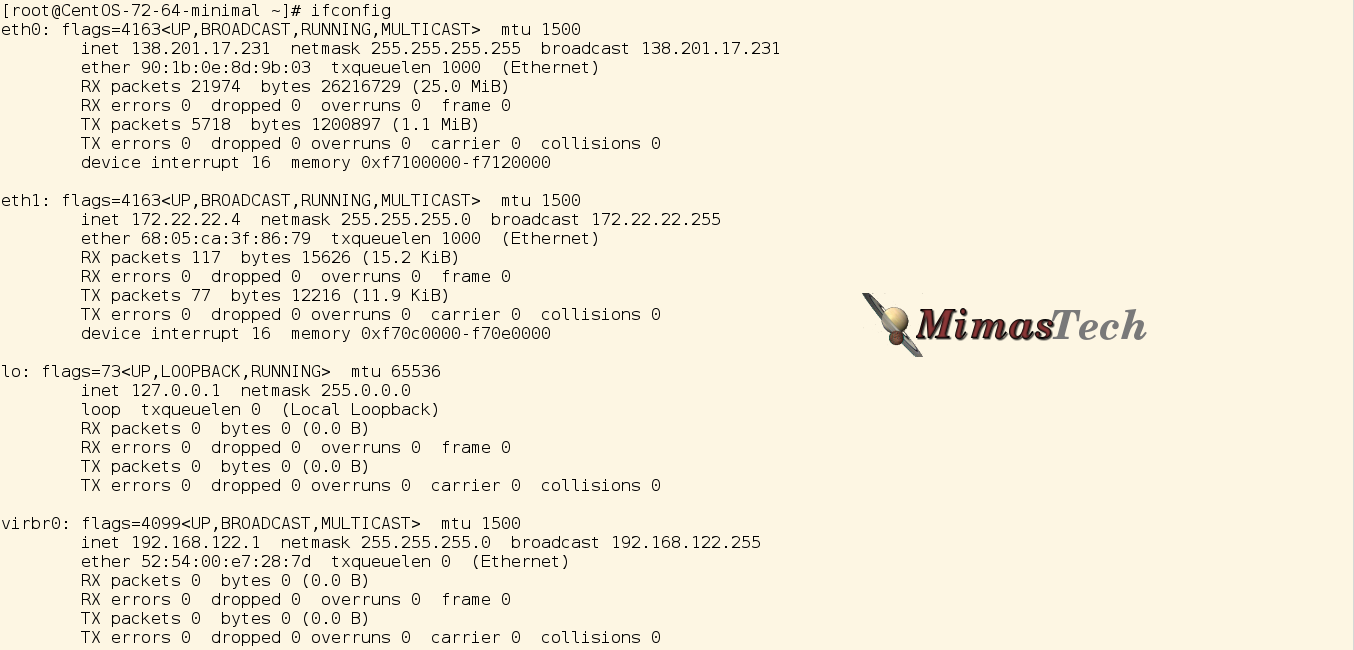
After restarting libvirtd, check your network using ifconfig to see the installation of the virbr0 NAT interface:
# ifconfig
The output of this command will be:
 From this output you see that virbr0 is installed, and UP.
We will see how to add extra NIC interfaces with different types to be used with your guest VMs in the installation of Guest VMs articles.
I hope this article is good enough for you.
See you in other articles.

If You Appreciate What We Do Here On Mimastech, You Should Consider:
- Stay Connected to: Facebook | Twitter | Google+
- Support us via PayPal Donation
- Subscribe to our email newsletters.
- Tell other sysadmins / friends about Us - Share and Like our posts and services
We are thankful for your never ending support.


