How to Install CentOS 7 Linux System
In this article, we will discuss the installation of CentOS 7 Linux system, this is the first step in your career path as a Linux systems administrator. You must master the different ways of installing the Linux OS.
CentOS Linux is a member of Redhat Linux Family “to be more specific a member of RPM Linux Family”.
So lets start our installation of CentOS 7 Linux OS.
Requirements:
In order to install CentOS 7, you of course will need a PC or Laptop or Server to install the OS into.
Linux Systems in general do not require a high specs hardware, So you will need a device with Processor support 64 OS, a minimum of 1 GB of rams, about 10GB /20GB of disk storage for the OS installation, and of course the installation media.
Step 1: Downloading the installation media.
If you do not have the installation media, then visit CentOS download and download the latest Installation media then burn it into a DVD.
For this installation I’ll use CentOS-7.0-1406-x86_64-Minimal.iso .
Step 2: The Installation Process.
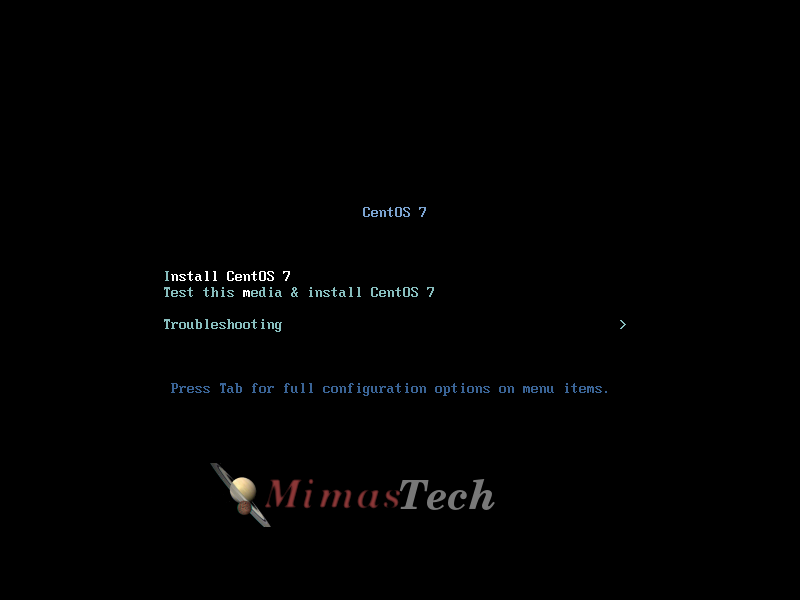
- Boot from your CentOS 7 DVD. Select Install CentOS 7.
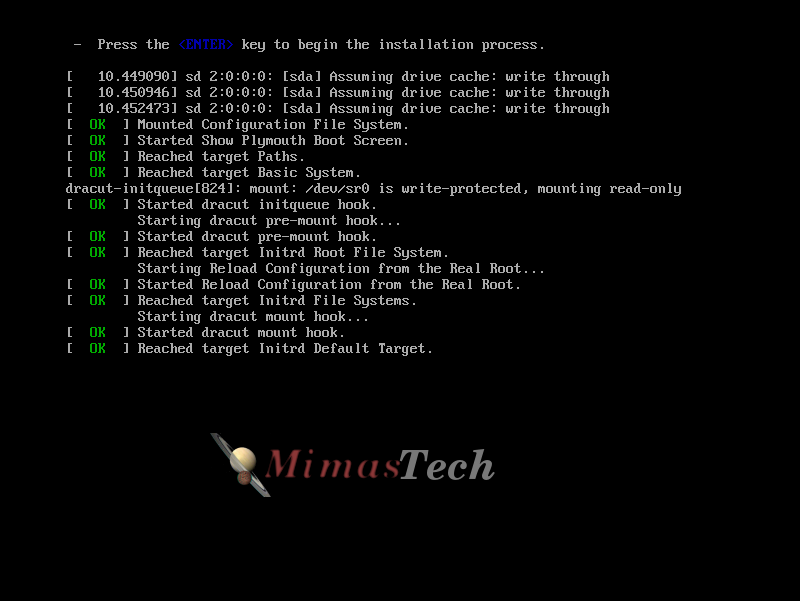
- Press ENTER for loading the installation media files.
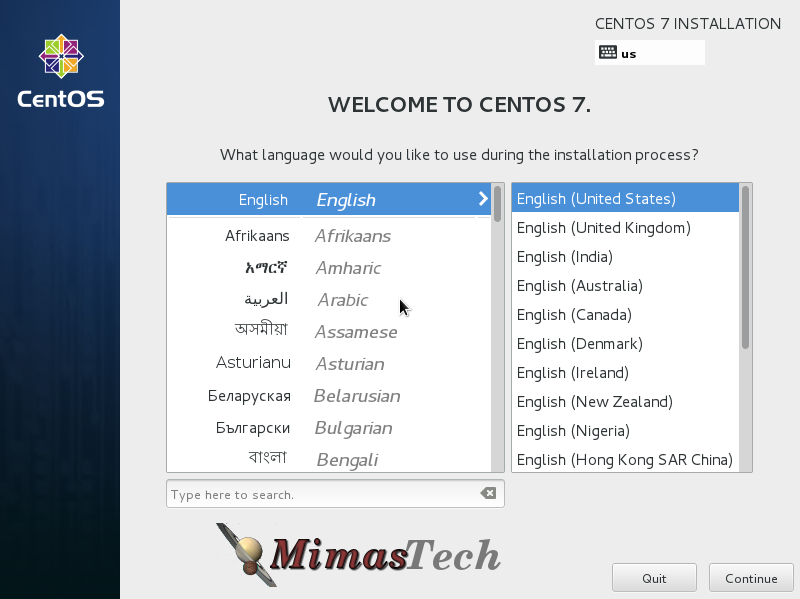
- Select the language you will use during the installation process, and press Continue.
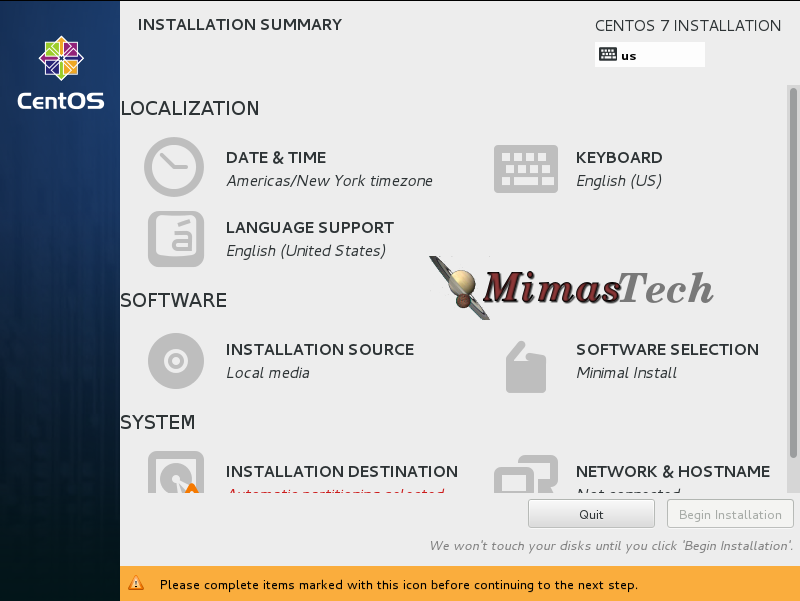
- Now this is the installation summary, showing your installation settings, you should enter each section inside this summary and customize it according to your needs, lest customize it one by one.
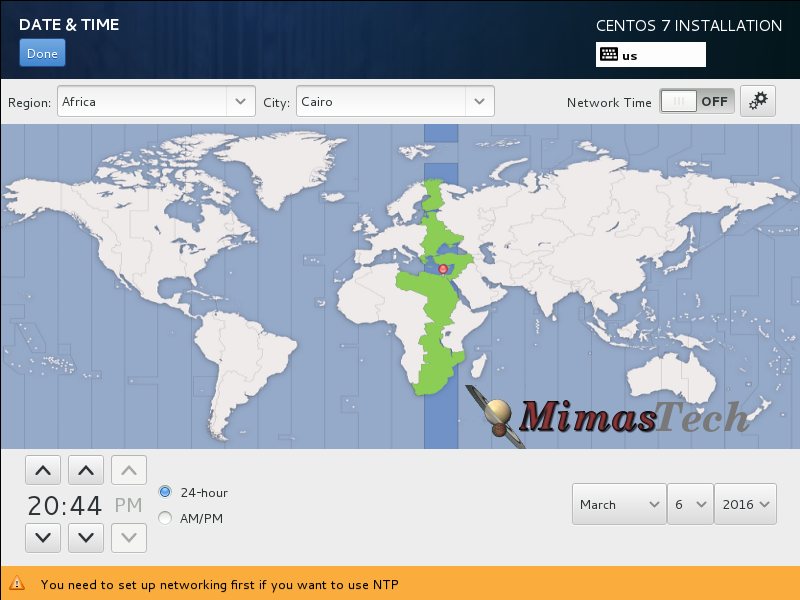
- Click on Date & Time from the installation summary and select your server physical location from the provided map, also check the time and date are correct and hit on upper Done button to apply configuration, and return to the installation summary.
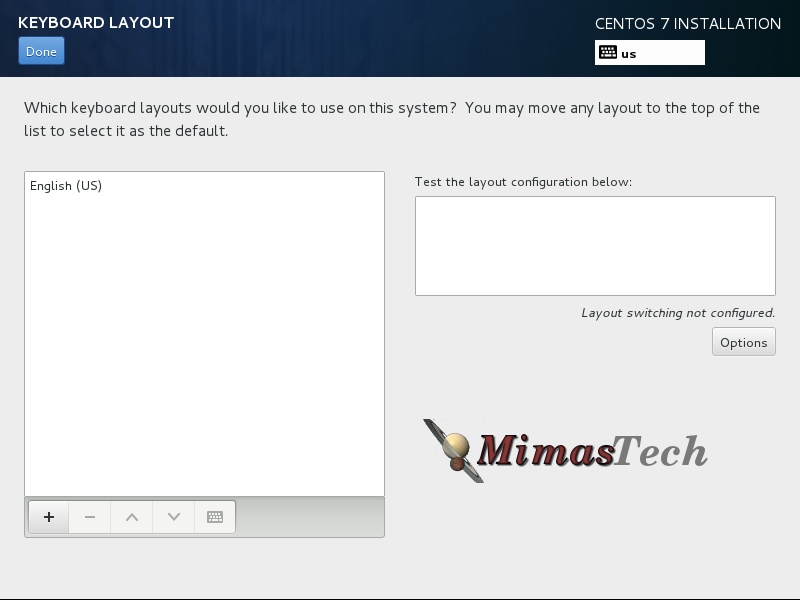
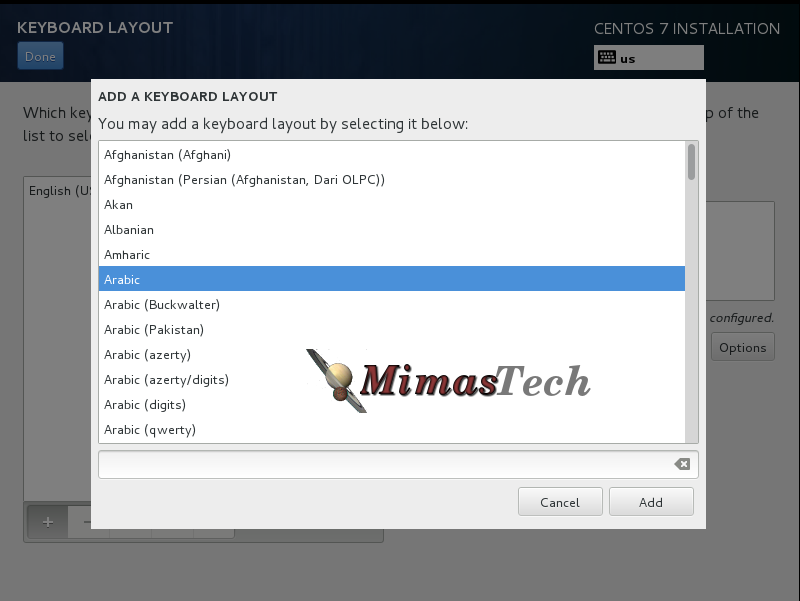
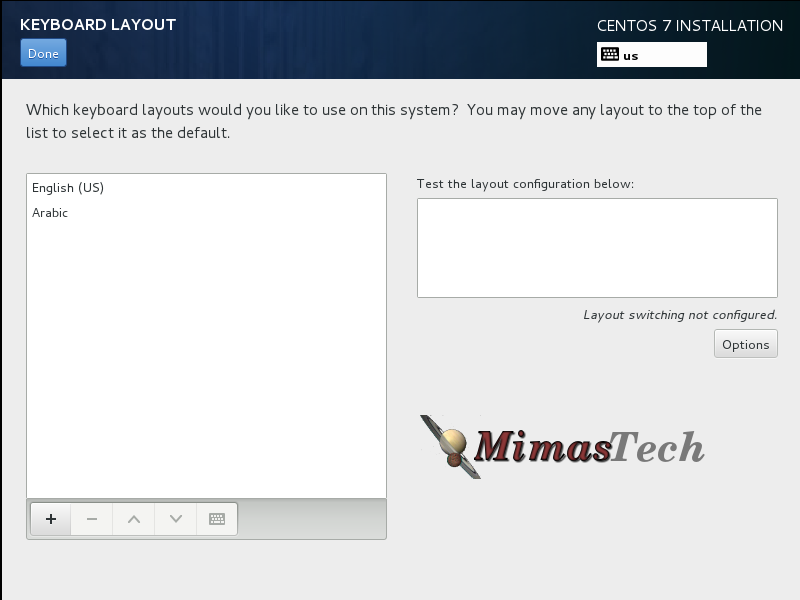
- Click on Keyboard from the installation summary and select your keyboard layout, default layout is English “as you select English to be you language during the installation process”, Press Plus Sign to add another keyboard layout “if needed”. I’ll add Arabic to be my second layout, then Press Add, Now your keyboard layout is as you want, hit on upper Done button to apply configuration, and return to the installation summary.
- Click on Software Selection from the installation summary and select the software packages “group of packages” you want to be installed on your server.As you see there are many items to select one from them under Base Environment on left side of the image, on the right side of the image there are the add-Ons if you want to install additional packages along with the environments you select, hit on upper Done button to apply configuration, and return to the installation summary.

Hints:
1.I told you that I'll use the CentOS-7.0-1406-x86_64-Minimal.iso to be my installation media.
2.The minimal media only has Minimal Install under the Base Environment, Why do you saw here extra items than found in your installation? Because I used CentOS-7.0-1406-x86_64-DVD.iso as my installation media. I want to show you the difference between the Minimal media, and the DVD media.
3.The minimal Centos source media is smaller in size,it doesn't has any GUI interface. on the other hand the DVD Centos source media is bigger in size, and has many Base Environment as you see in the above image.
4.Finally, As an Experienced Systems Engineer, On all your installations in production environments "Servers" USE THE MINIMAL INSTALLATION, AS THE FIRST COMMAND YOU WILL EXECUTE AFTER THE INSTALLATION  IS "yum update -y". This command will download all the latest packages from the repositories, So Save your bandwidth during downloading the source media from centos.org, and download only the minimal iso.
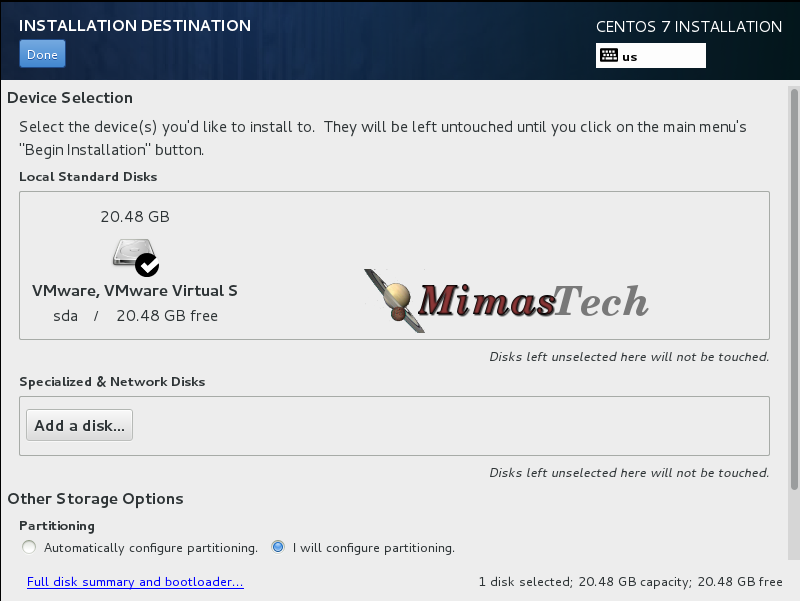
- Click on Installation Destination from the installation summary to select where the OS files will be installed, you need to select the hard drive and create the partitions inside it. As you see I only have one disk, and is selected by default. Now I’ll create the partitions inside that disk, you have two partitions options “Automatic configure partitioning OR I will configure partitioning“, For beginners Use Automatically configure partitioning, But I’ll show you what is the default partitioning for CentOS 7 So I’ll Select “I will configure partitioning“, and click Next.
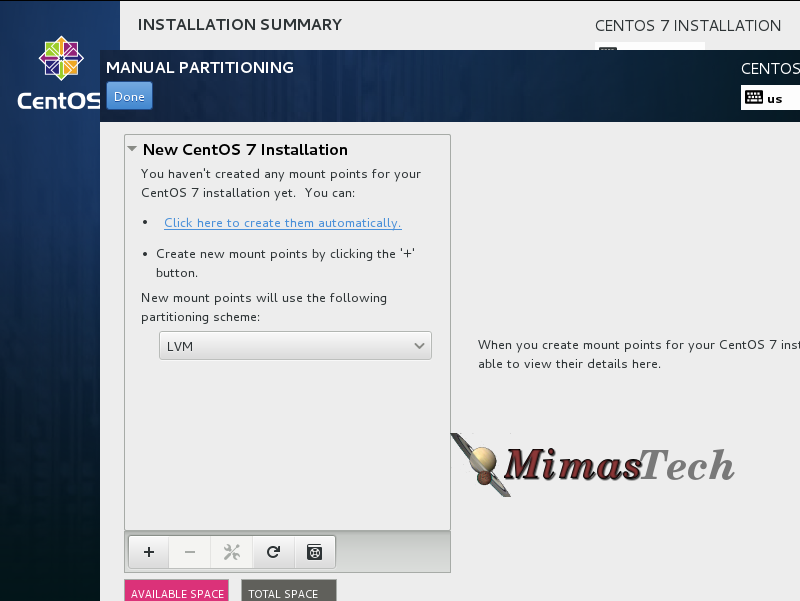
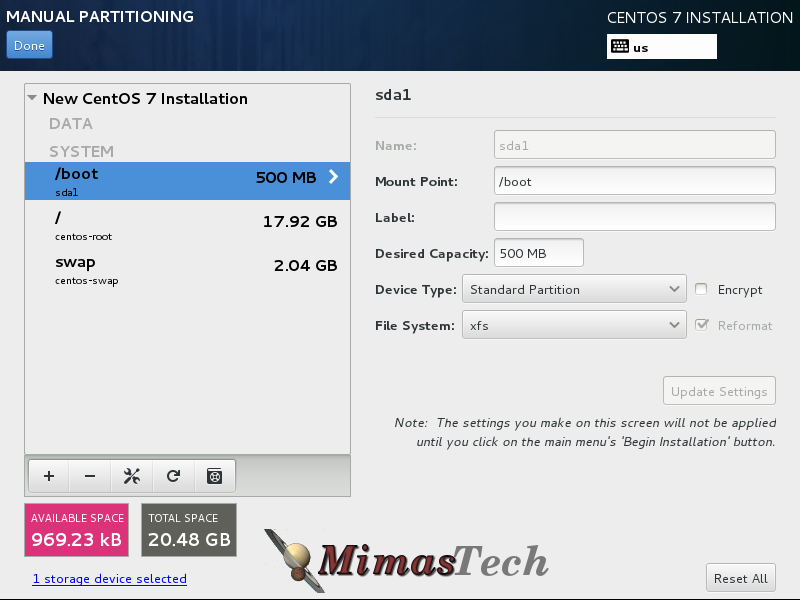
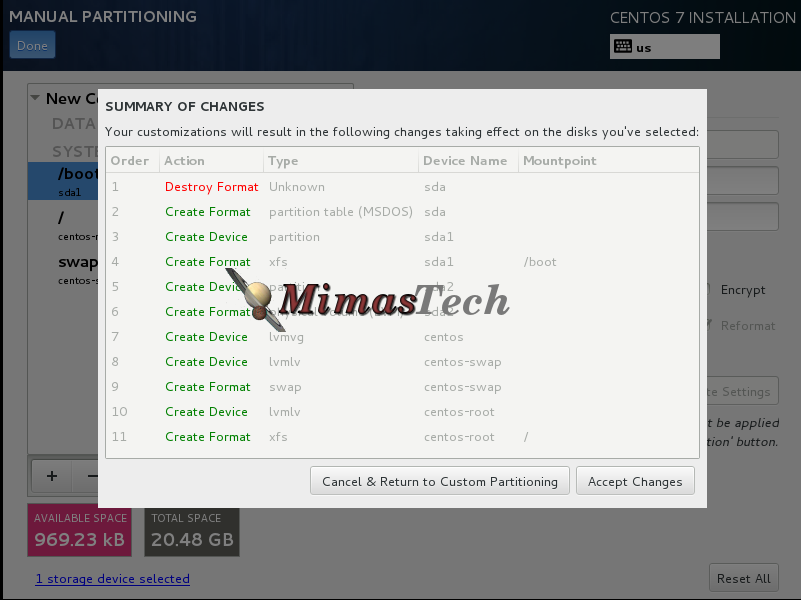
- Click on Click here to create them automatically this will create the default three partitions” /boot, / , and swap“. Later we will post article about advanced partitioning options, Now hit on upper Done button to display the summary of changes you made in your hard disk, Click on Accept Changes to start formatting the hard disk, and to return back to the installation summary.
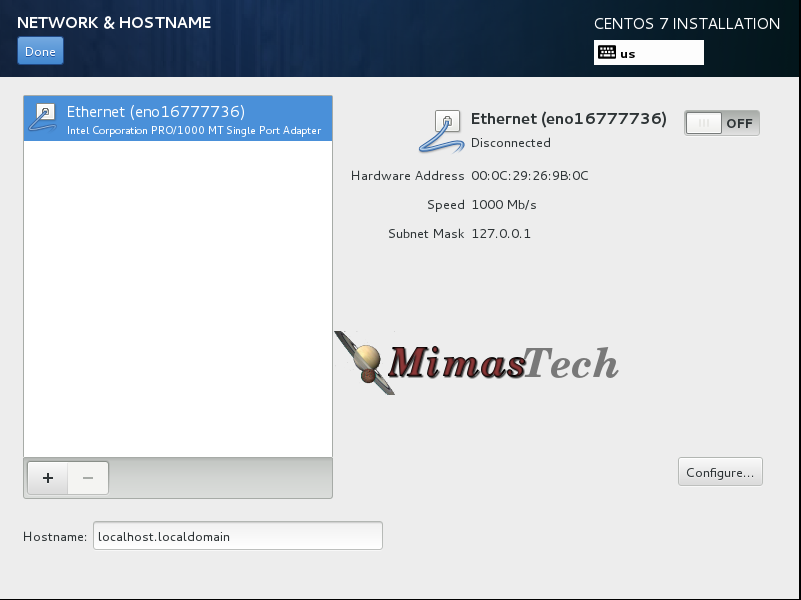
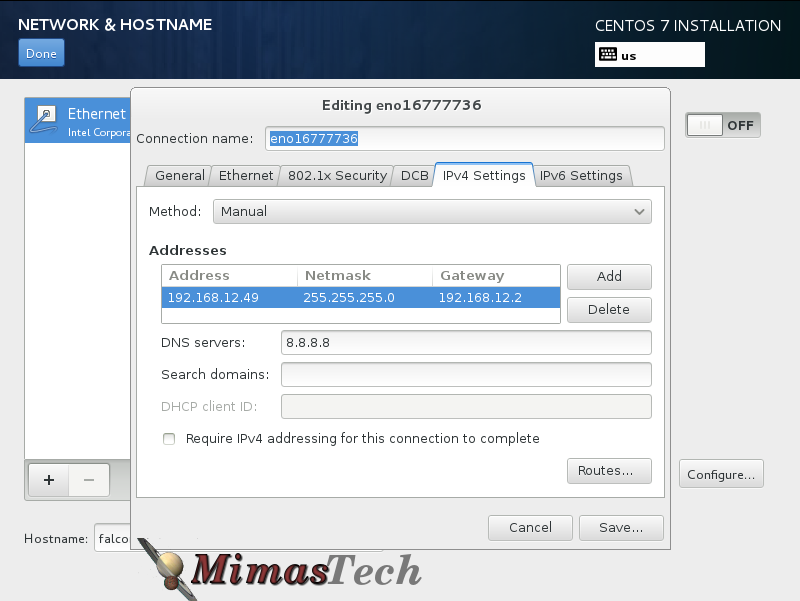
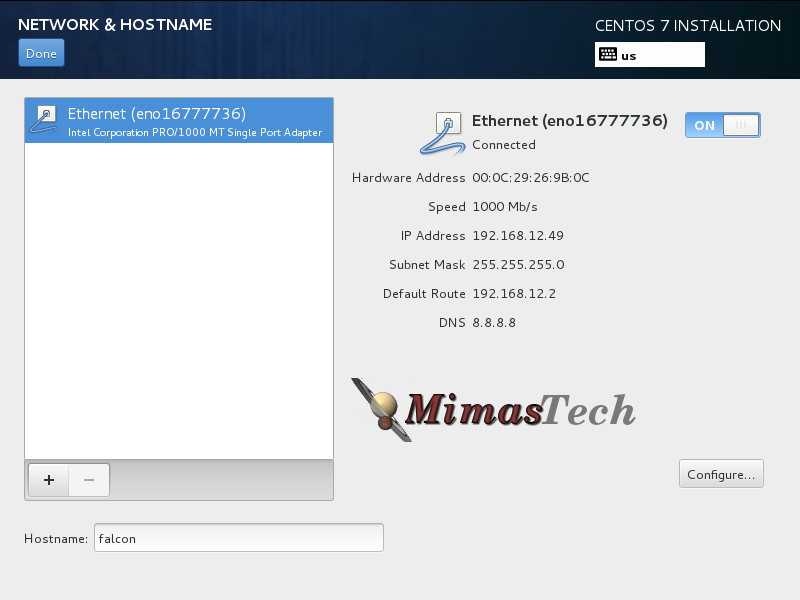
- Click on Network & Hostname from the installation summary to configure your network interface, you can skip this step and configure it later, but let’s configure the network interface. Click on Configure then select IPv4 Settings then select Manual from Method then Click Add and enter the Address, Netmask, and Gateway. Enter the value of DNS Servers as shown below, then Click Save to return to the Network & Hostname, also you can change the Hostname, finally hit on upper Done button to apply configuration, and return to the installation summary.
- Now Click on Begin Installation to start the installation process, during the installation process you need to Set the root Password, and Create a non root user” if you need to create that user”.
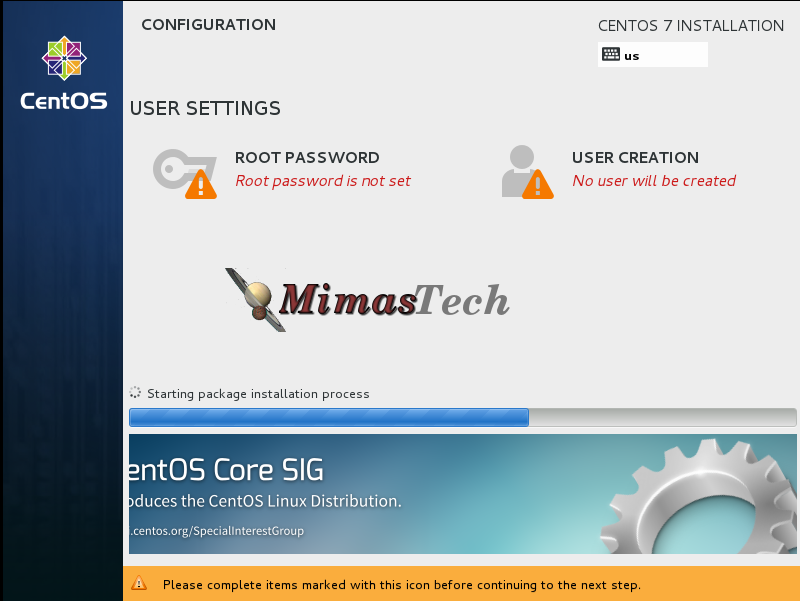
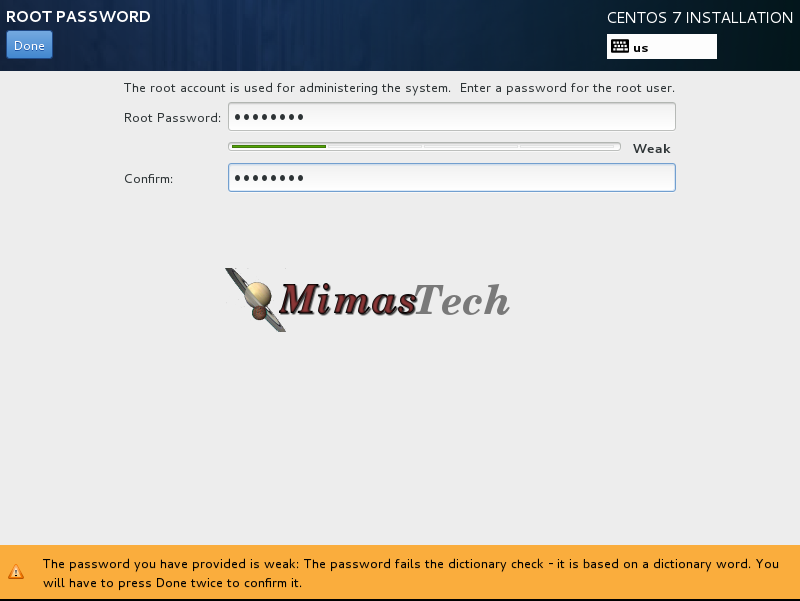
- Click on ROOT PASSWORD and enter a strong password as shown, then hit on upper Done button to apply configuration, and return to the installation process, if you entered a weak root password you will have to click on the upper Done Twice to apply configuration, and return to the installation process.
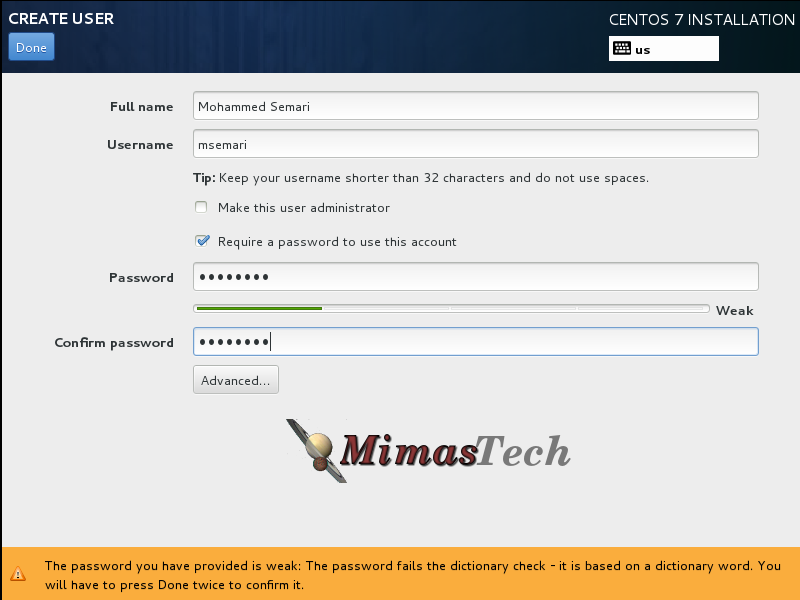
- Click on USER CREATIONS “IF needed” and enter the details of new created user as below, then hit on upper Done button to apply configuration, and return to the installation process, if you entered a weak password for the new creates user you will have to click on the upper Done Twice to apply configuration, and return to the installation process.
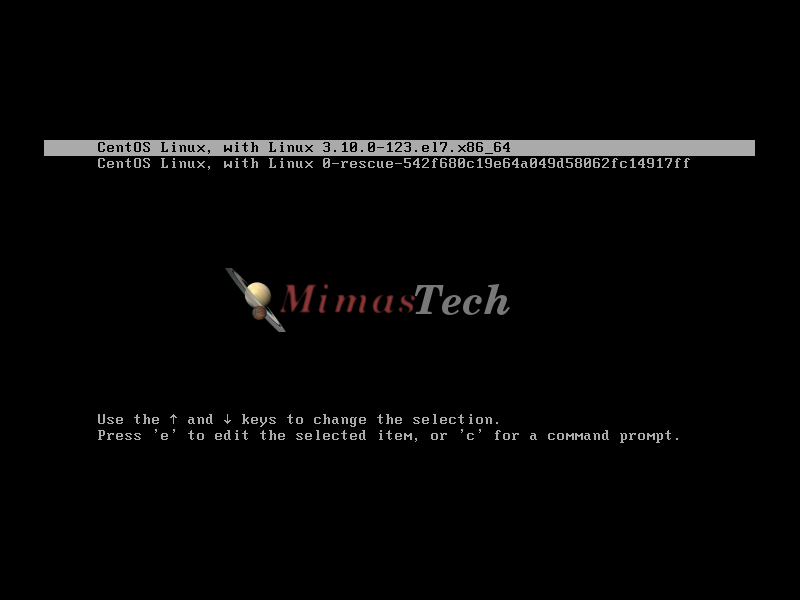
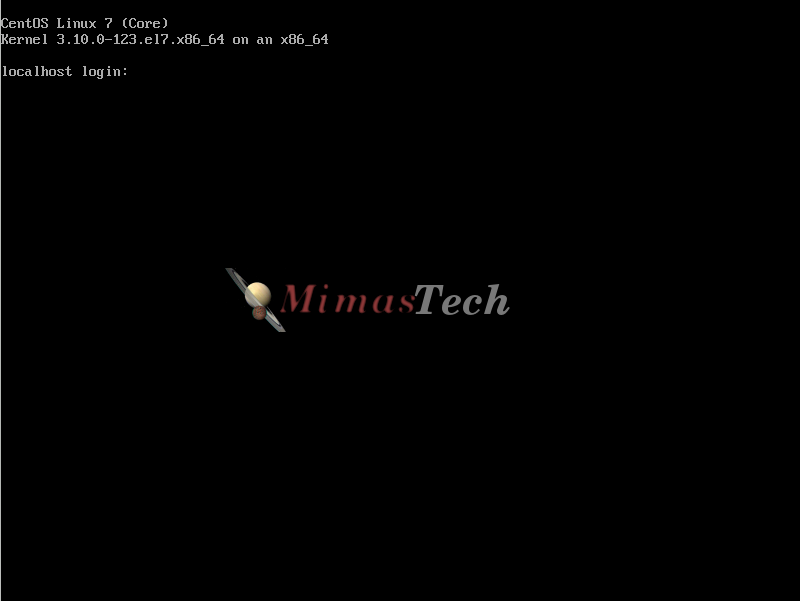
- Once the Installation process has finished, Remove the installation media from your CD/ DVD driver and Click on Reboot , After rebooting the system you can login using either root user or the user you created during the installation.
Hints:
1.For quick installation you need only to configure the INSTALLATION DESTINATION, you can use Automatic configure partitioning to finish the installation faster. Then Click on Begin Installation and set the ROOT PASSWORD , Then reboot you system.
2. All other configuration settings configure them when you login as a root to CentOS Linux. This is the Fastest installation Method.
I hope this article is good enough for you.
See you in other articles.

If You Appreciate What We Do Here On Mimastech, You Should Consider:
- Stay Connected to: Facebook | Twitter | Google+
- Support us via PayPal Donation
- Subscribe to our email newsletters.
- Tell other sysadmins / friends about Us - Share and Like our posts and services
We are thankful for your never ending support.


